How to Make Authentic Sushi at Home
- How to make sushi rice
- Preparing the toppings
- An easy way anyone can shape nigiri
- Summary
How to make sushi rice (shari)
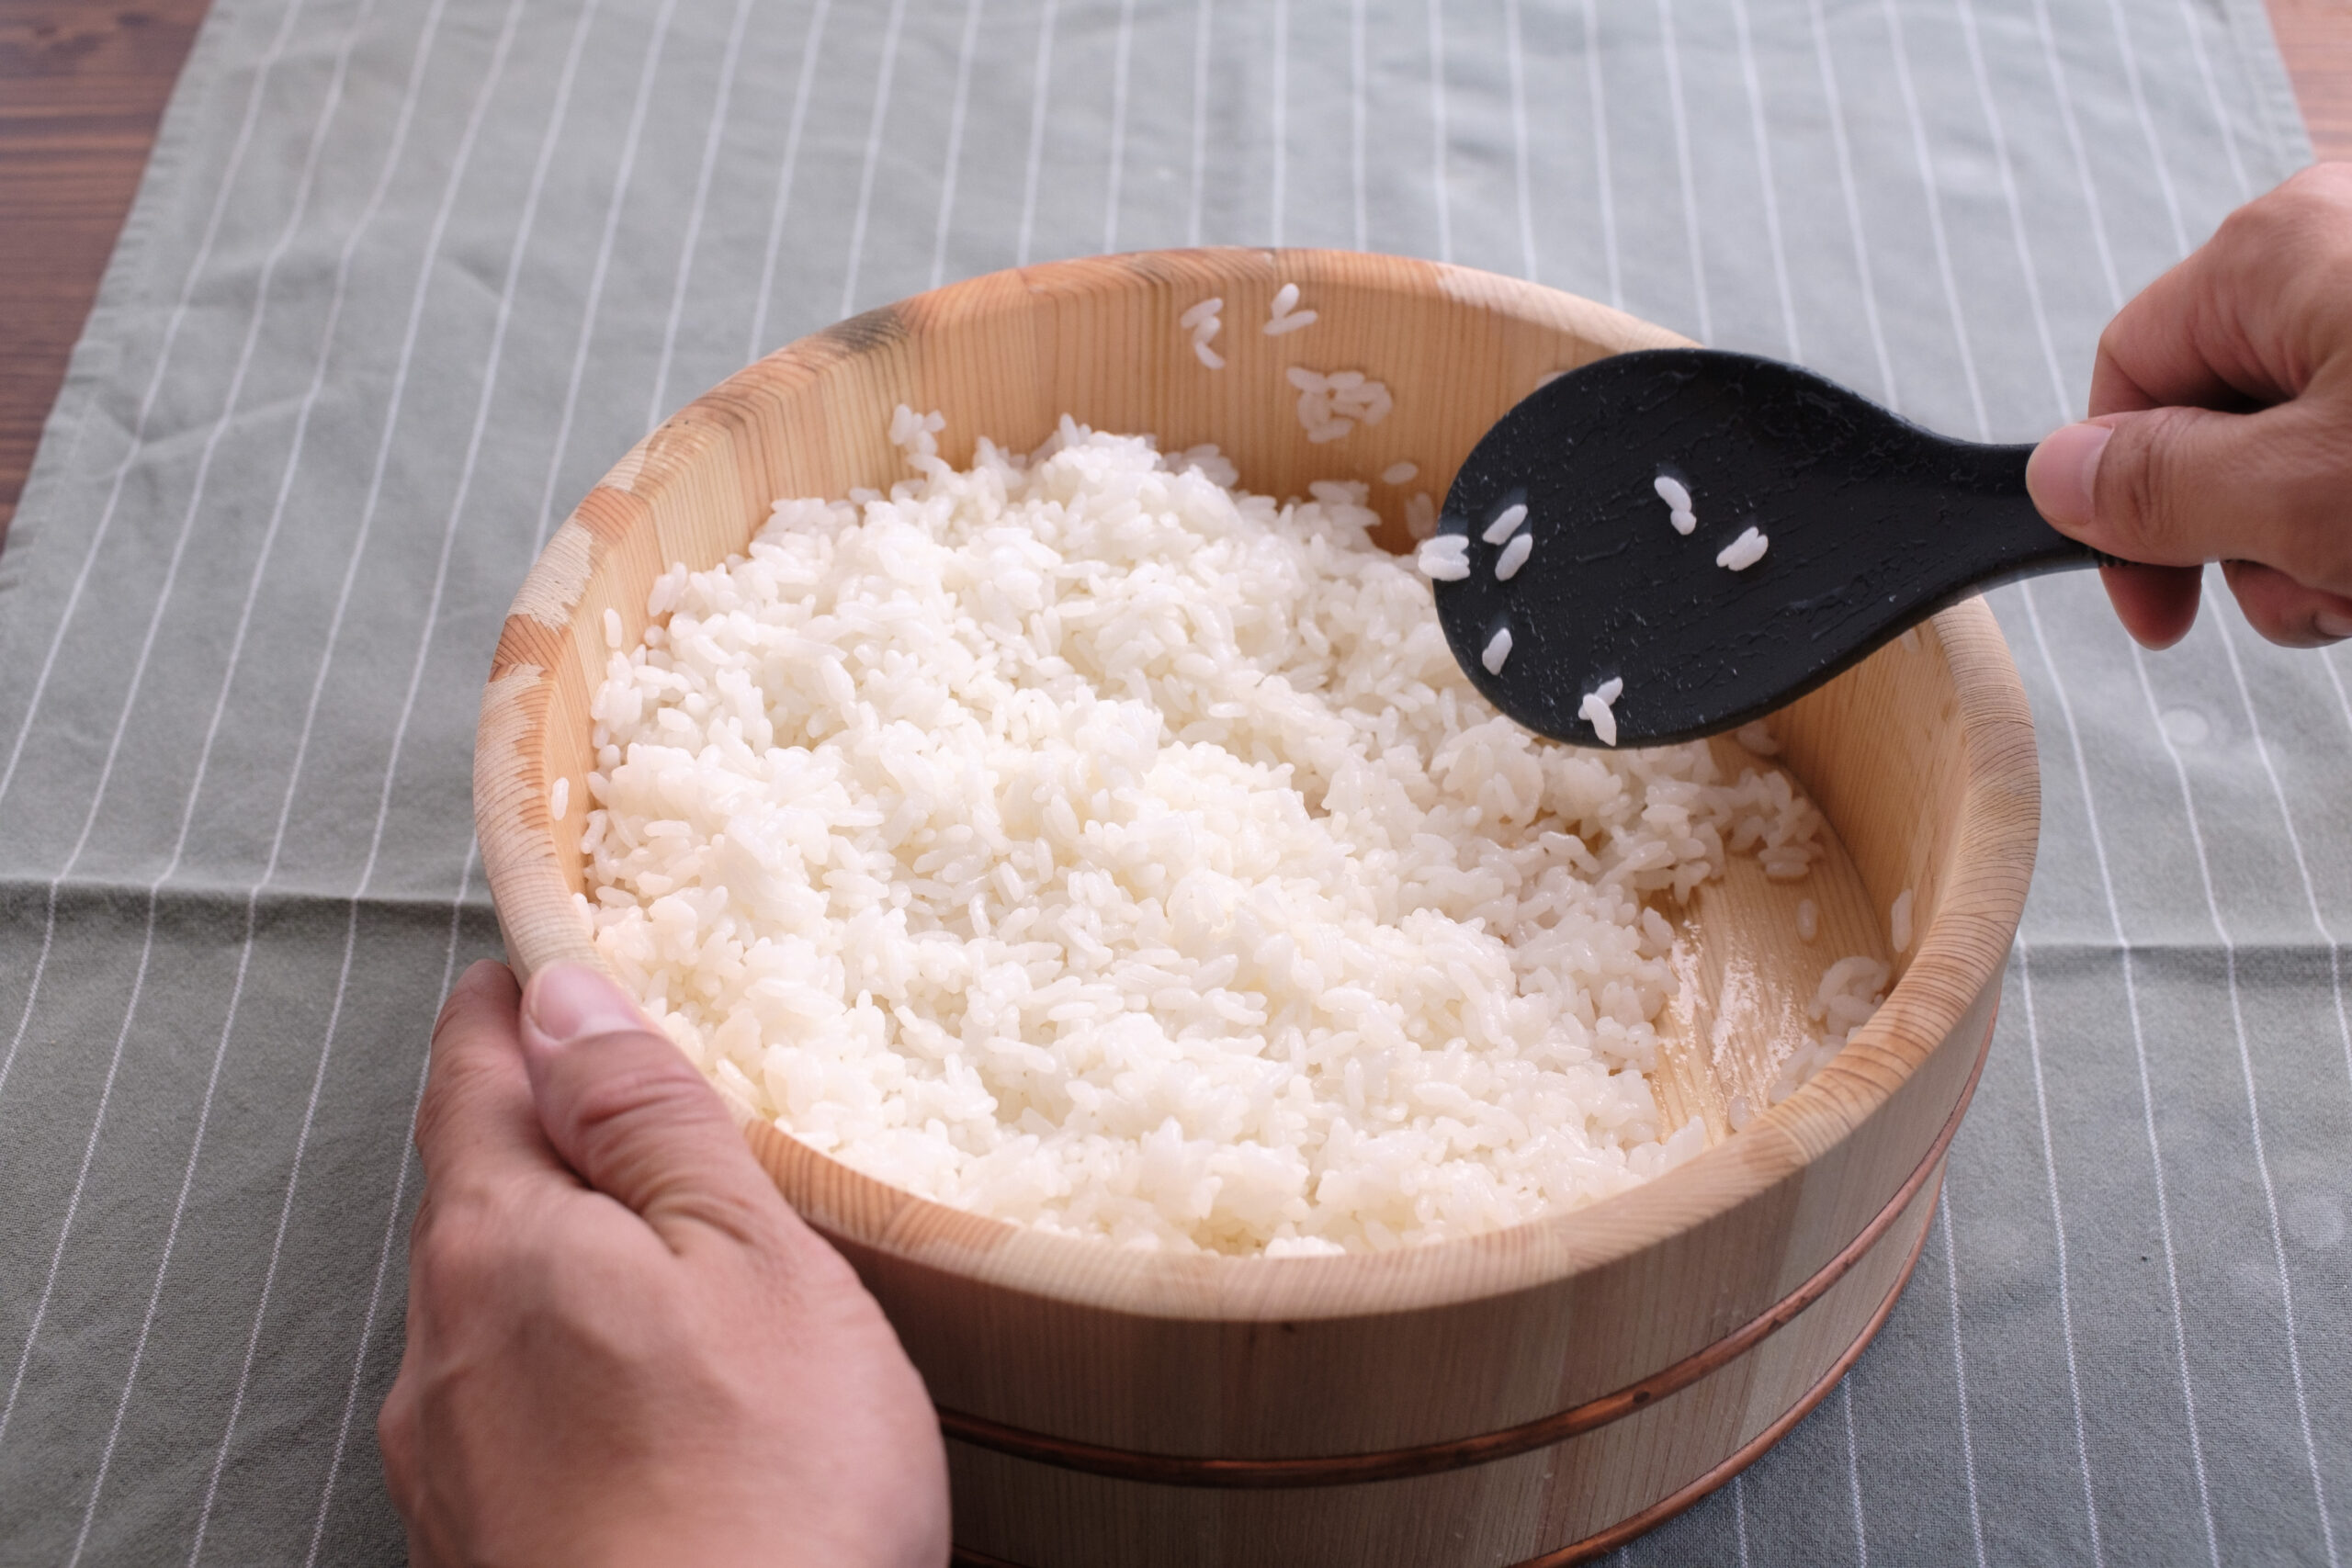
Some sushi chefs even say it's 20% topping and 80% shari, so the sushi rice is crucial to making delicious sushi.
If you can make the base sushi rice well, even sushi made by an amateur will taste good.
Now, let's get started right away!
This timewe'll make about 100g of seasoned vinegar for 2 go (about 2 cups) of rice.
The blend of seasoned vinegar varies from one sushi restaurant to another, but this time we'll make it in a "4:2:1" ratio.
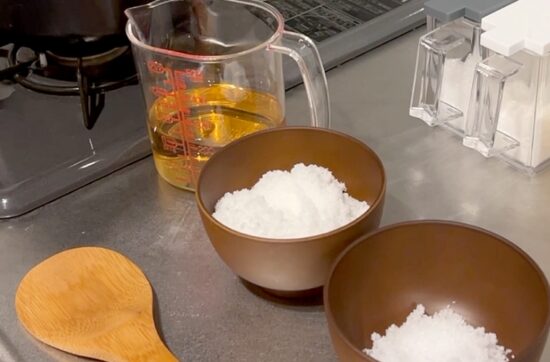
1. Prepare the ingredients for the seasoned vinegar
■Rice vinegar: 60 cc
■Sugar: 2 tablespoons (30g)
■Salt: 1 tablespoon (15g)
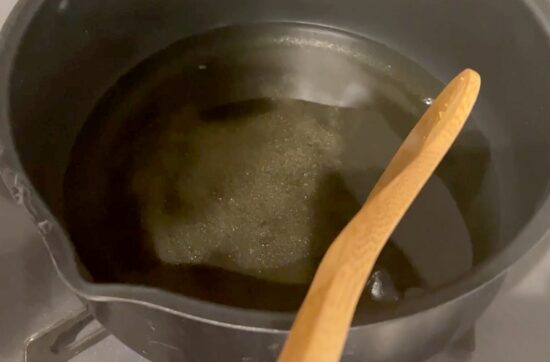
2. Heat the seasoned vinegar in a pot
Put the ingredients for the seasoned vinegar in a pot and, without bringing it to a boil, warm it while stirring occasionally until the sugar and salt are completely dissolved. Once all the solid sugar and salt have dissolved, turn off the heat and the seasoned vinegar is done.
Store any leftover seasoned vinegar in a bottle or container.
3. Pour the seasoned vinegar over the rice and mix (shari-giri)
Take the freshly cooked rice out of the cooker and put it into a sushi tub (or a bowl), then pour the seasoned vinegar over a rice paddle so it spreads evenly over the rice. It's good to have a wooden rice paddle called a "Miyajima," but if you don't have one, an ordinary household plastic paddle is fine.
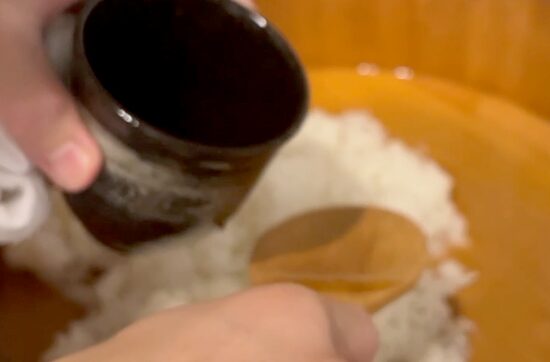
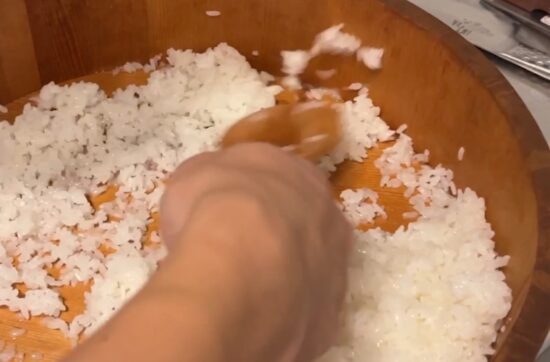
Next, move the paddle quickly and horizontally through the clumps of rice as if "cutting" them to mix.
This is the "shari-giri" process of mixing the seasoned vinegar into the rice while separating the grains one by one.
If you take too long, the rice becomes sticky, so the key is to work quickly without crushing the grains.
The sushi rice cools naturally, so after finishing the shari-giri you can simply let it cool, but if you cool it with a fan the vinegar is absorbed into the rice more quickly and the shari takes on a nice sheen.
→Click here for a detailed guide on making shari
2. Cutting the sushi toppings
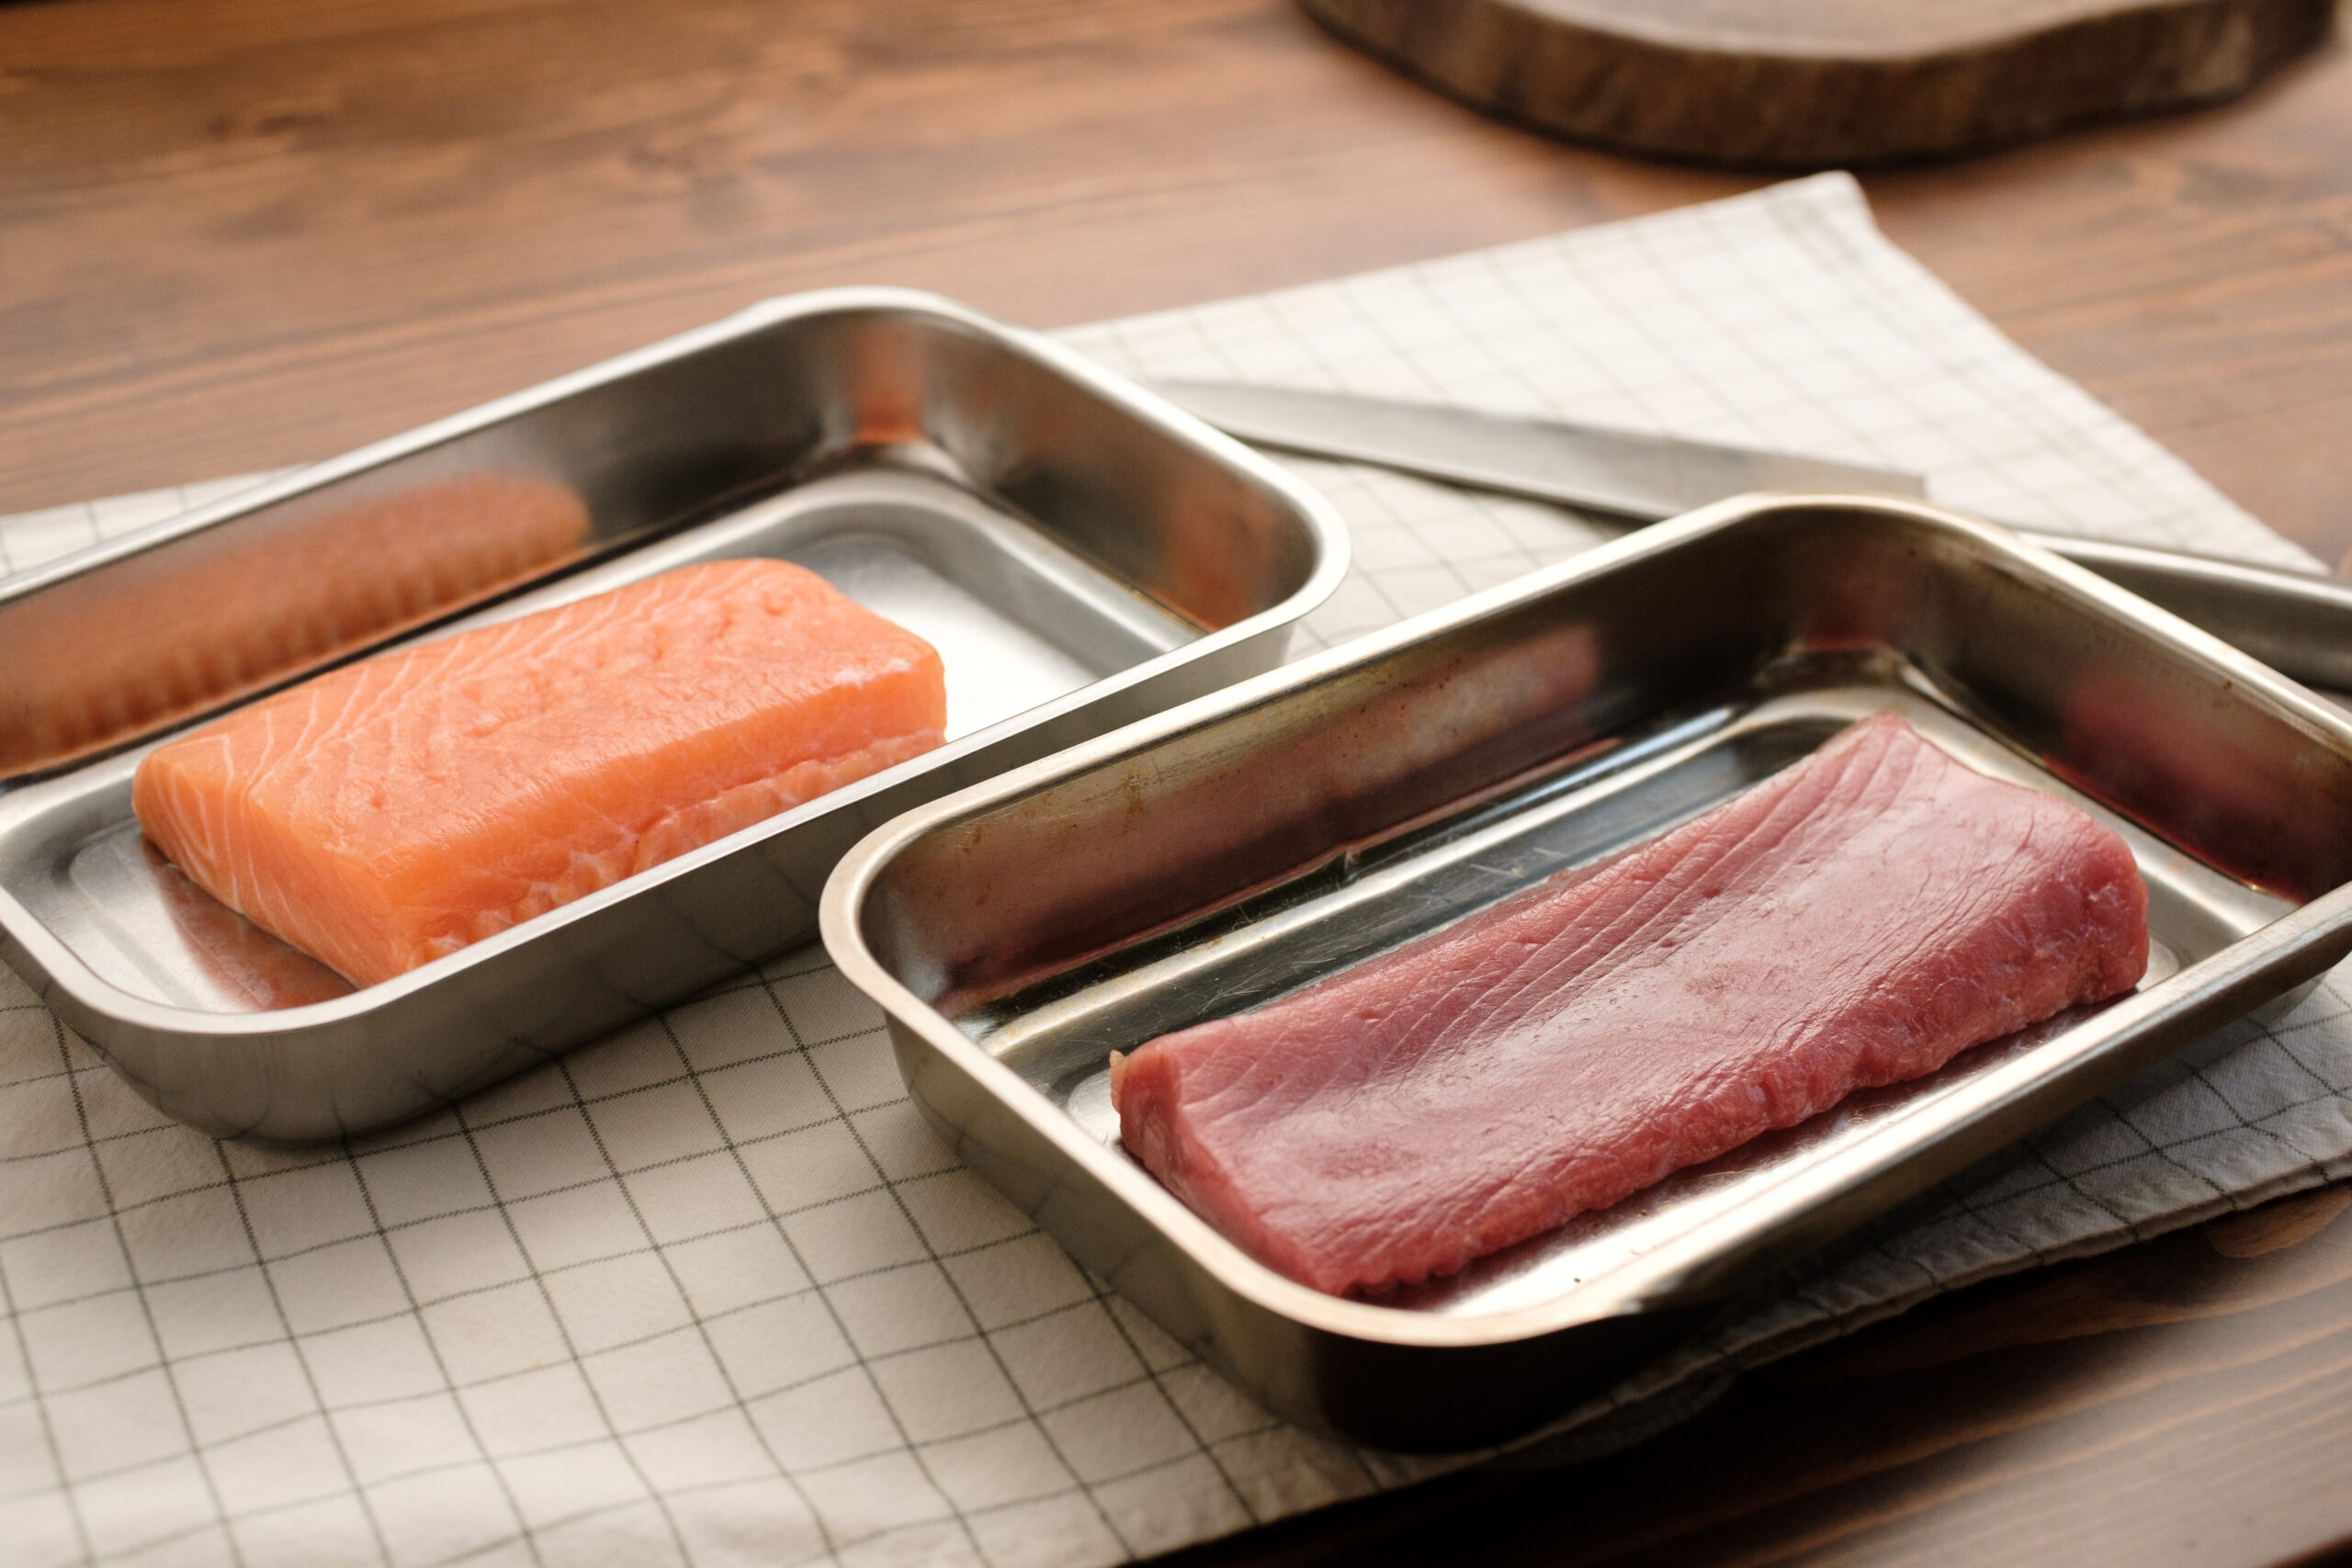
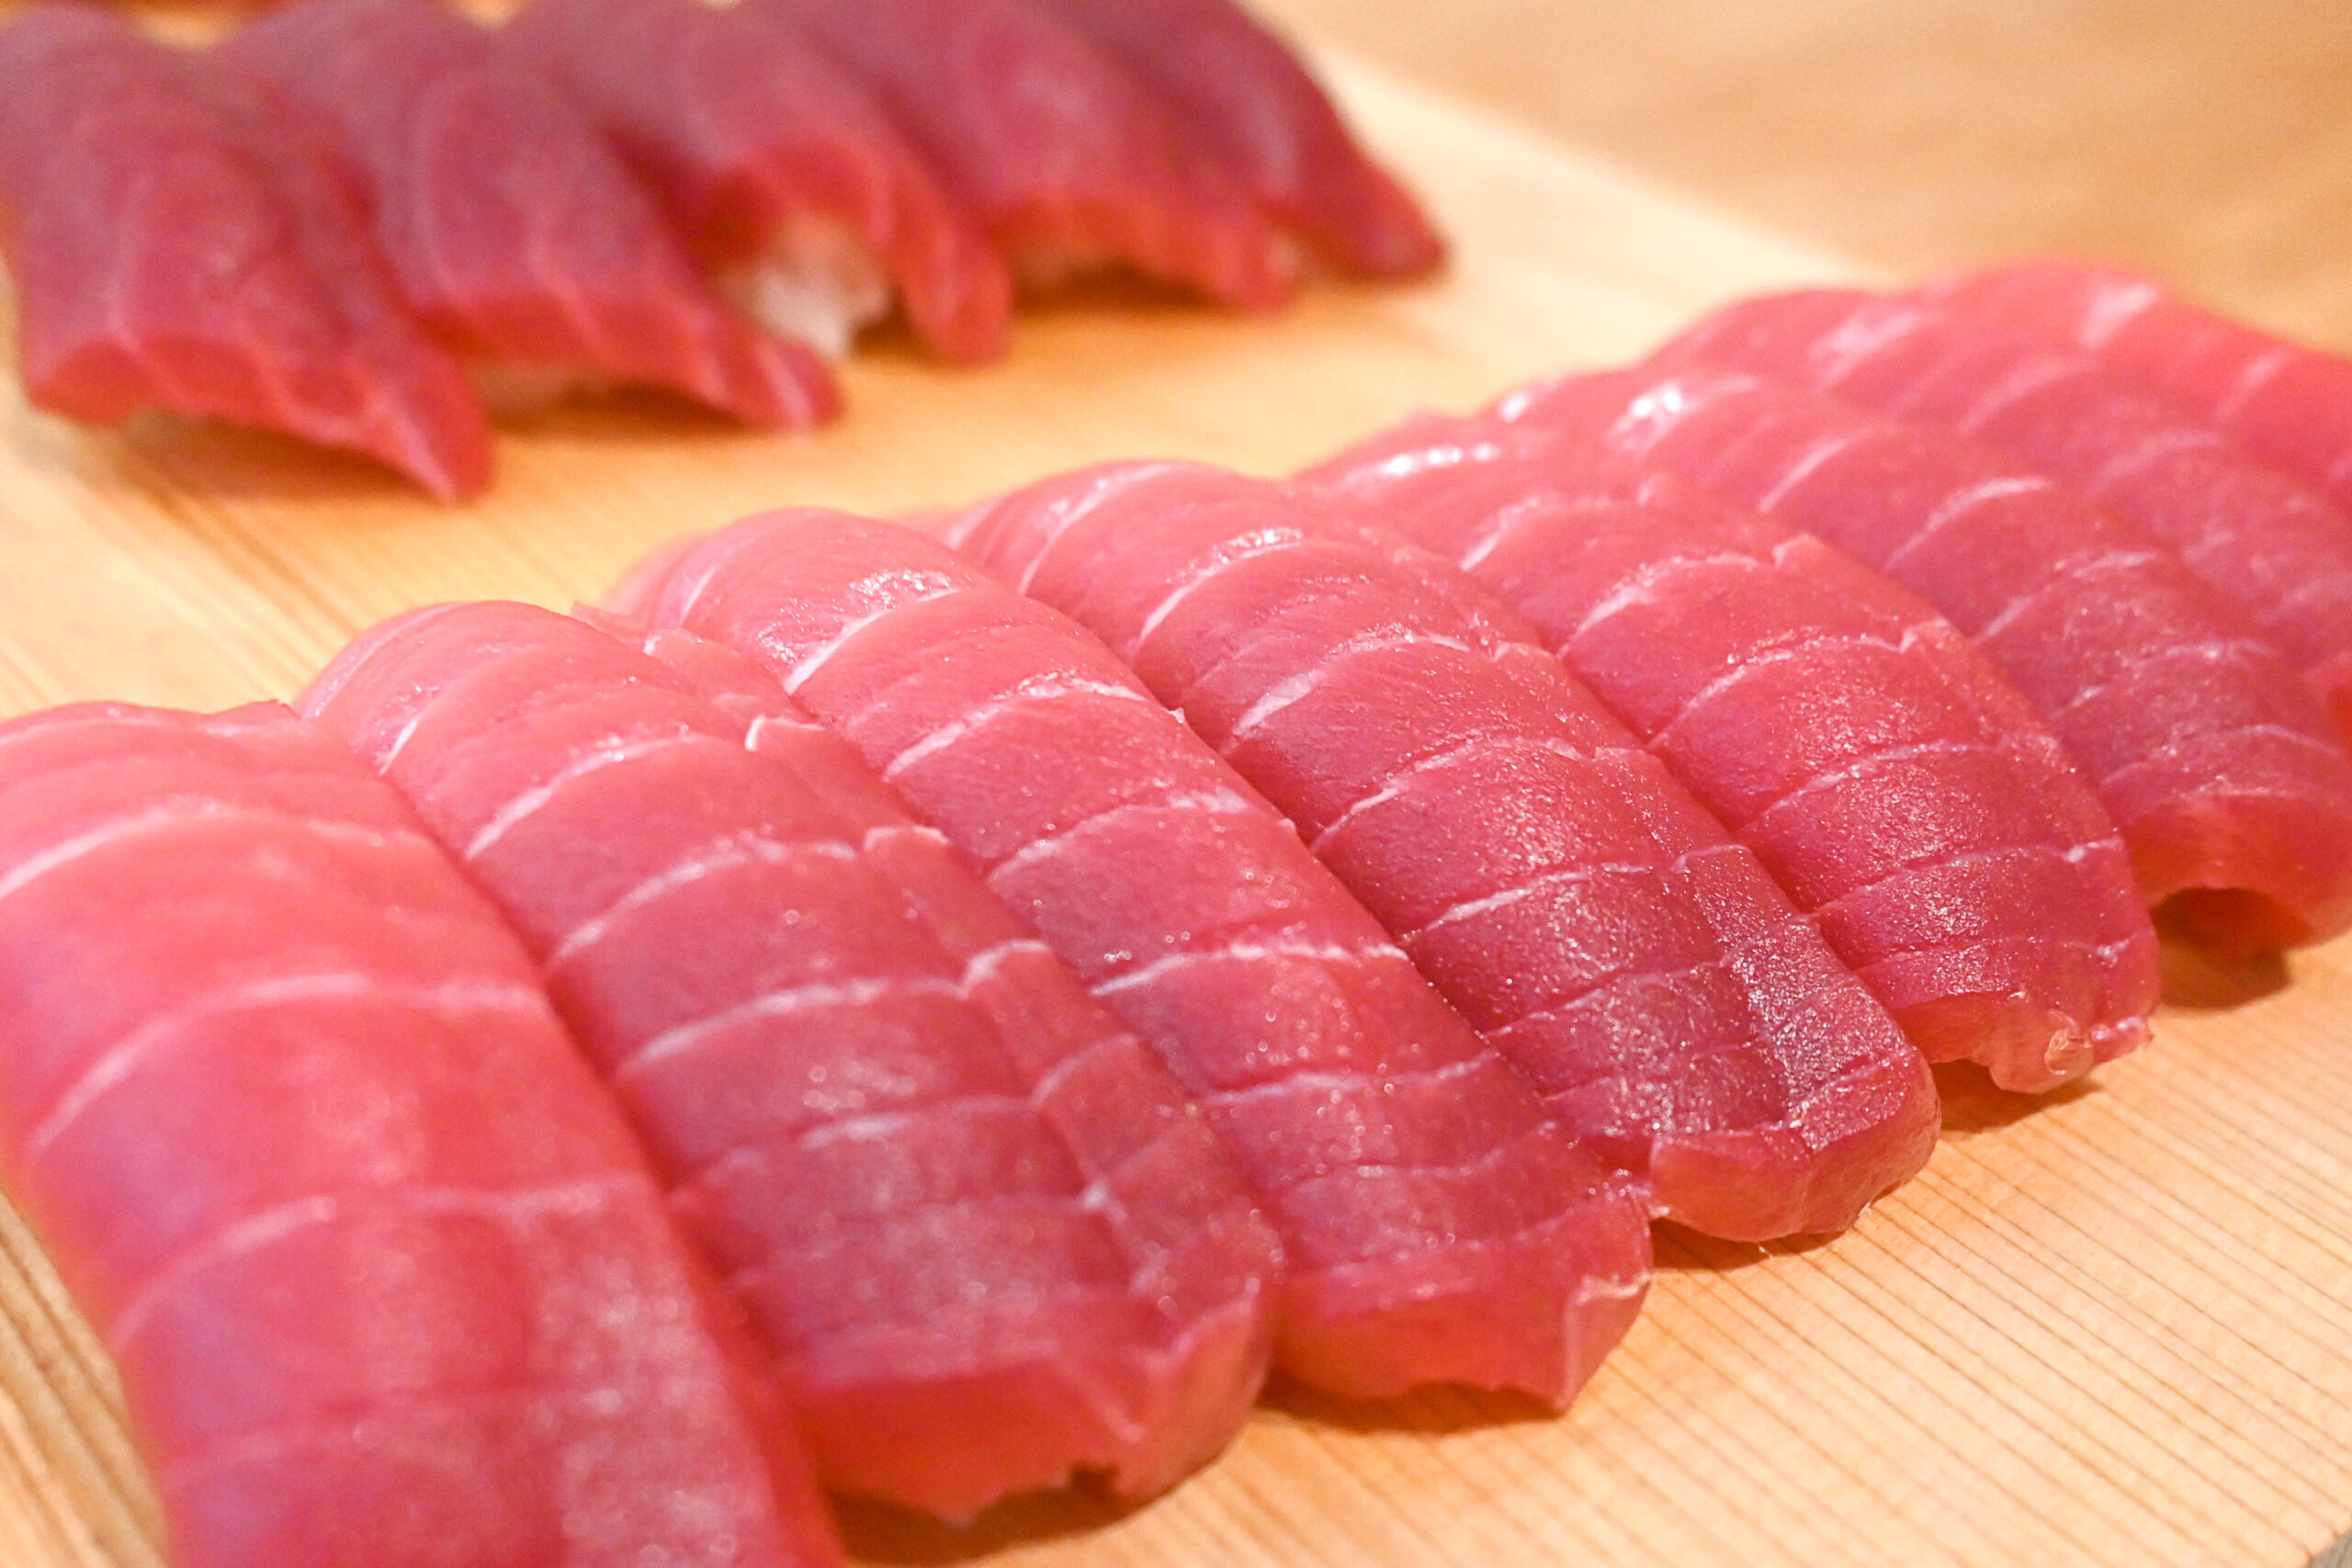
Rather than fish already sliced into sashimi, choose supermarket fish in the block form called a "saku" that is easy to cut, as shown in the photo. You can buy a whole fish, but filleting a fish requires skill and takes time, so in the beginning it goes more smoothly to use "saku" blocks.
First, blot away the excess moisture from the saku with paper towels. Removing the moisture eliminates the cause of fishy odor and keeps the fish fresh. It's very simple: just wrap the saku in paper towels and wipe off the moisture.
Once you've removed the moisture, let's start cutting the saku.
- First, decide the size of your sushi topping.
When measuring the size, use the part of your hand called the "teshaku" (hand measure).
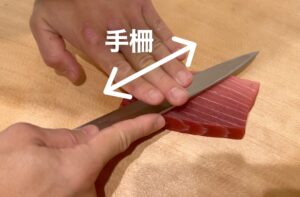
- Holding the knife slightly at an angle, cut the saku into the size of your sushi topping.
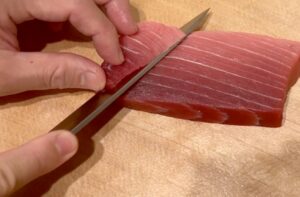
- Just before the knife reaches the cutting board, stand the blade up slightly and the topping will be finished beautifully.
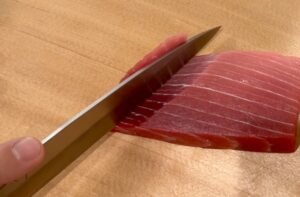
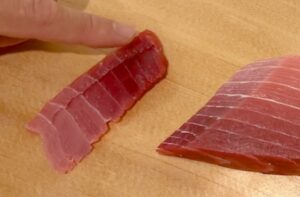
- The sushi topping is complete. Having that part where you stood the blade up not only looks good but also increases the sense of unity with the shari, making the sushi taste better.
3. An easy way to shape sushi
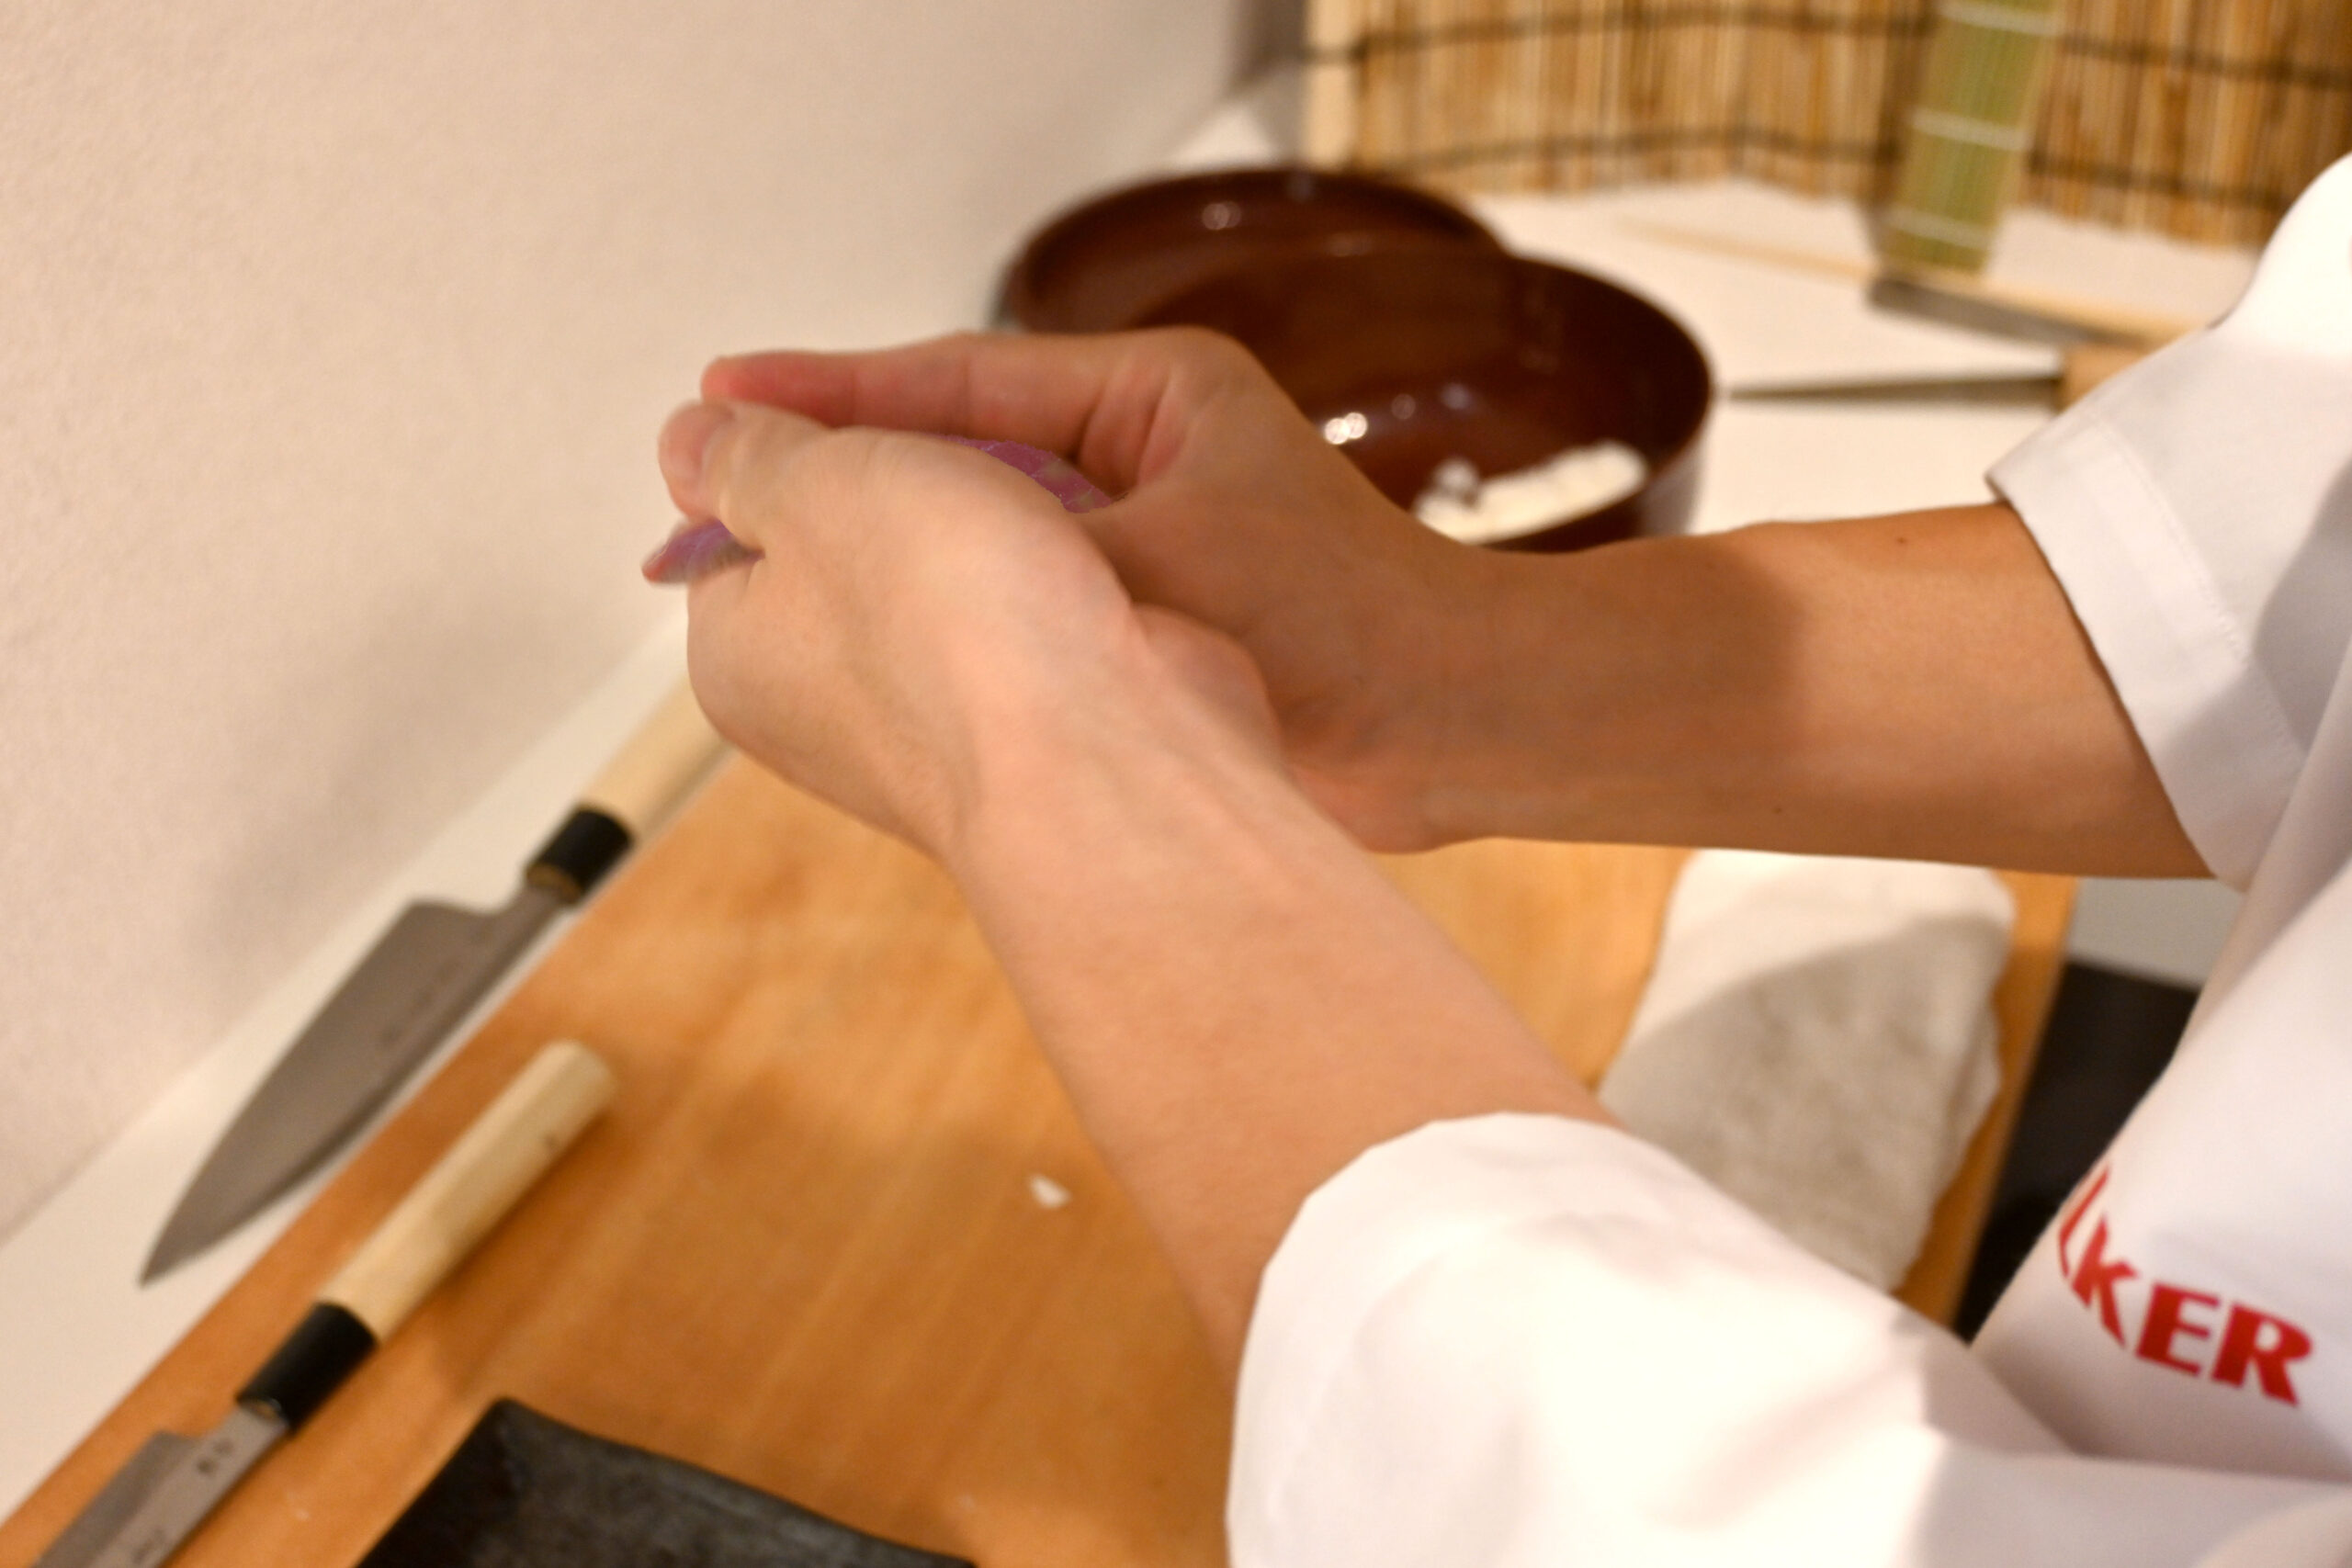
Once you've cut the toppings, let's try shaping the sushi.
- Lightly wet the palms of your right and left hands.
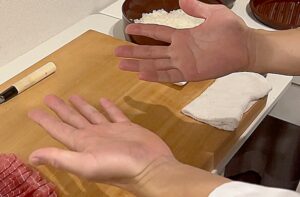
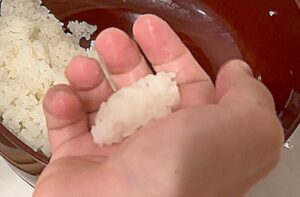
- With your right hand, take a ping-pong-ball-sized amount of shari and gather it together lightly.
(Be careful not to squeeze hard and crush the shari.)
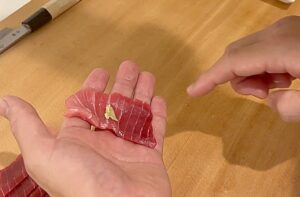
- Hold the cut sushi topping in your left hand and, with the index finger of your right hand, dab wasabi onto the topping.
- Place the shari ball from your right hand on top of the topping in your left hand, and with your leftthumb (or the index finger of your right hand), make a small hollow in the center of the shari. Doing this allows the shari to come apart softly in your mouth.
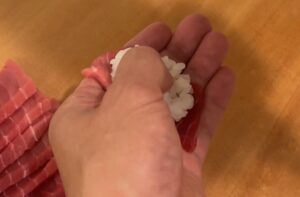
- With your right hand, shape the top, bottom, left, and right of the shari.
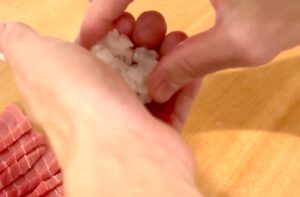
- Once shaped, roll it to the right, turn the topping side up, and squeeze the sides with your fingers.
Turn it the opposite way, squeeze the sides again with your thumb, and press the top.
Repeat this about 2 to 4 times, and once the shape is formed, it's complete.
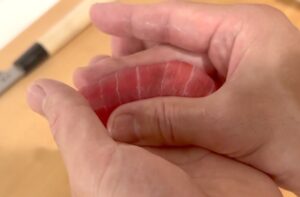
- Finish shaping it and it's done!
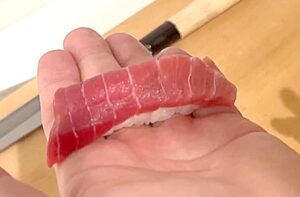
If you overdo it, the sushi becomes firm, or the heat of your hands can cause the topping to soften, so be careful not to overwork it.
It may seem difficult at first, but once you get used to it, you'll be able to enjoy delicious, authentic sushi at home anytime, so please give it a try!