Sushi Bar Appetizer Recipes You Can Make at Home
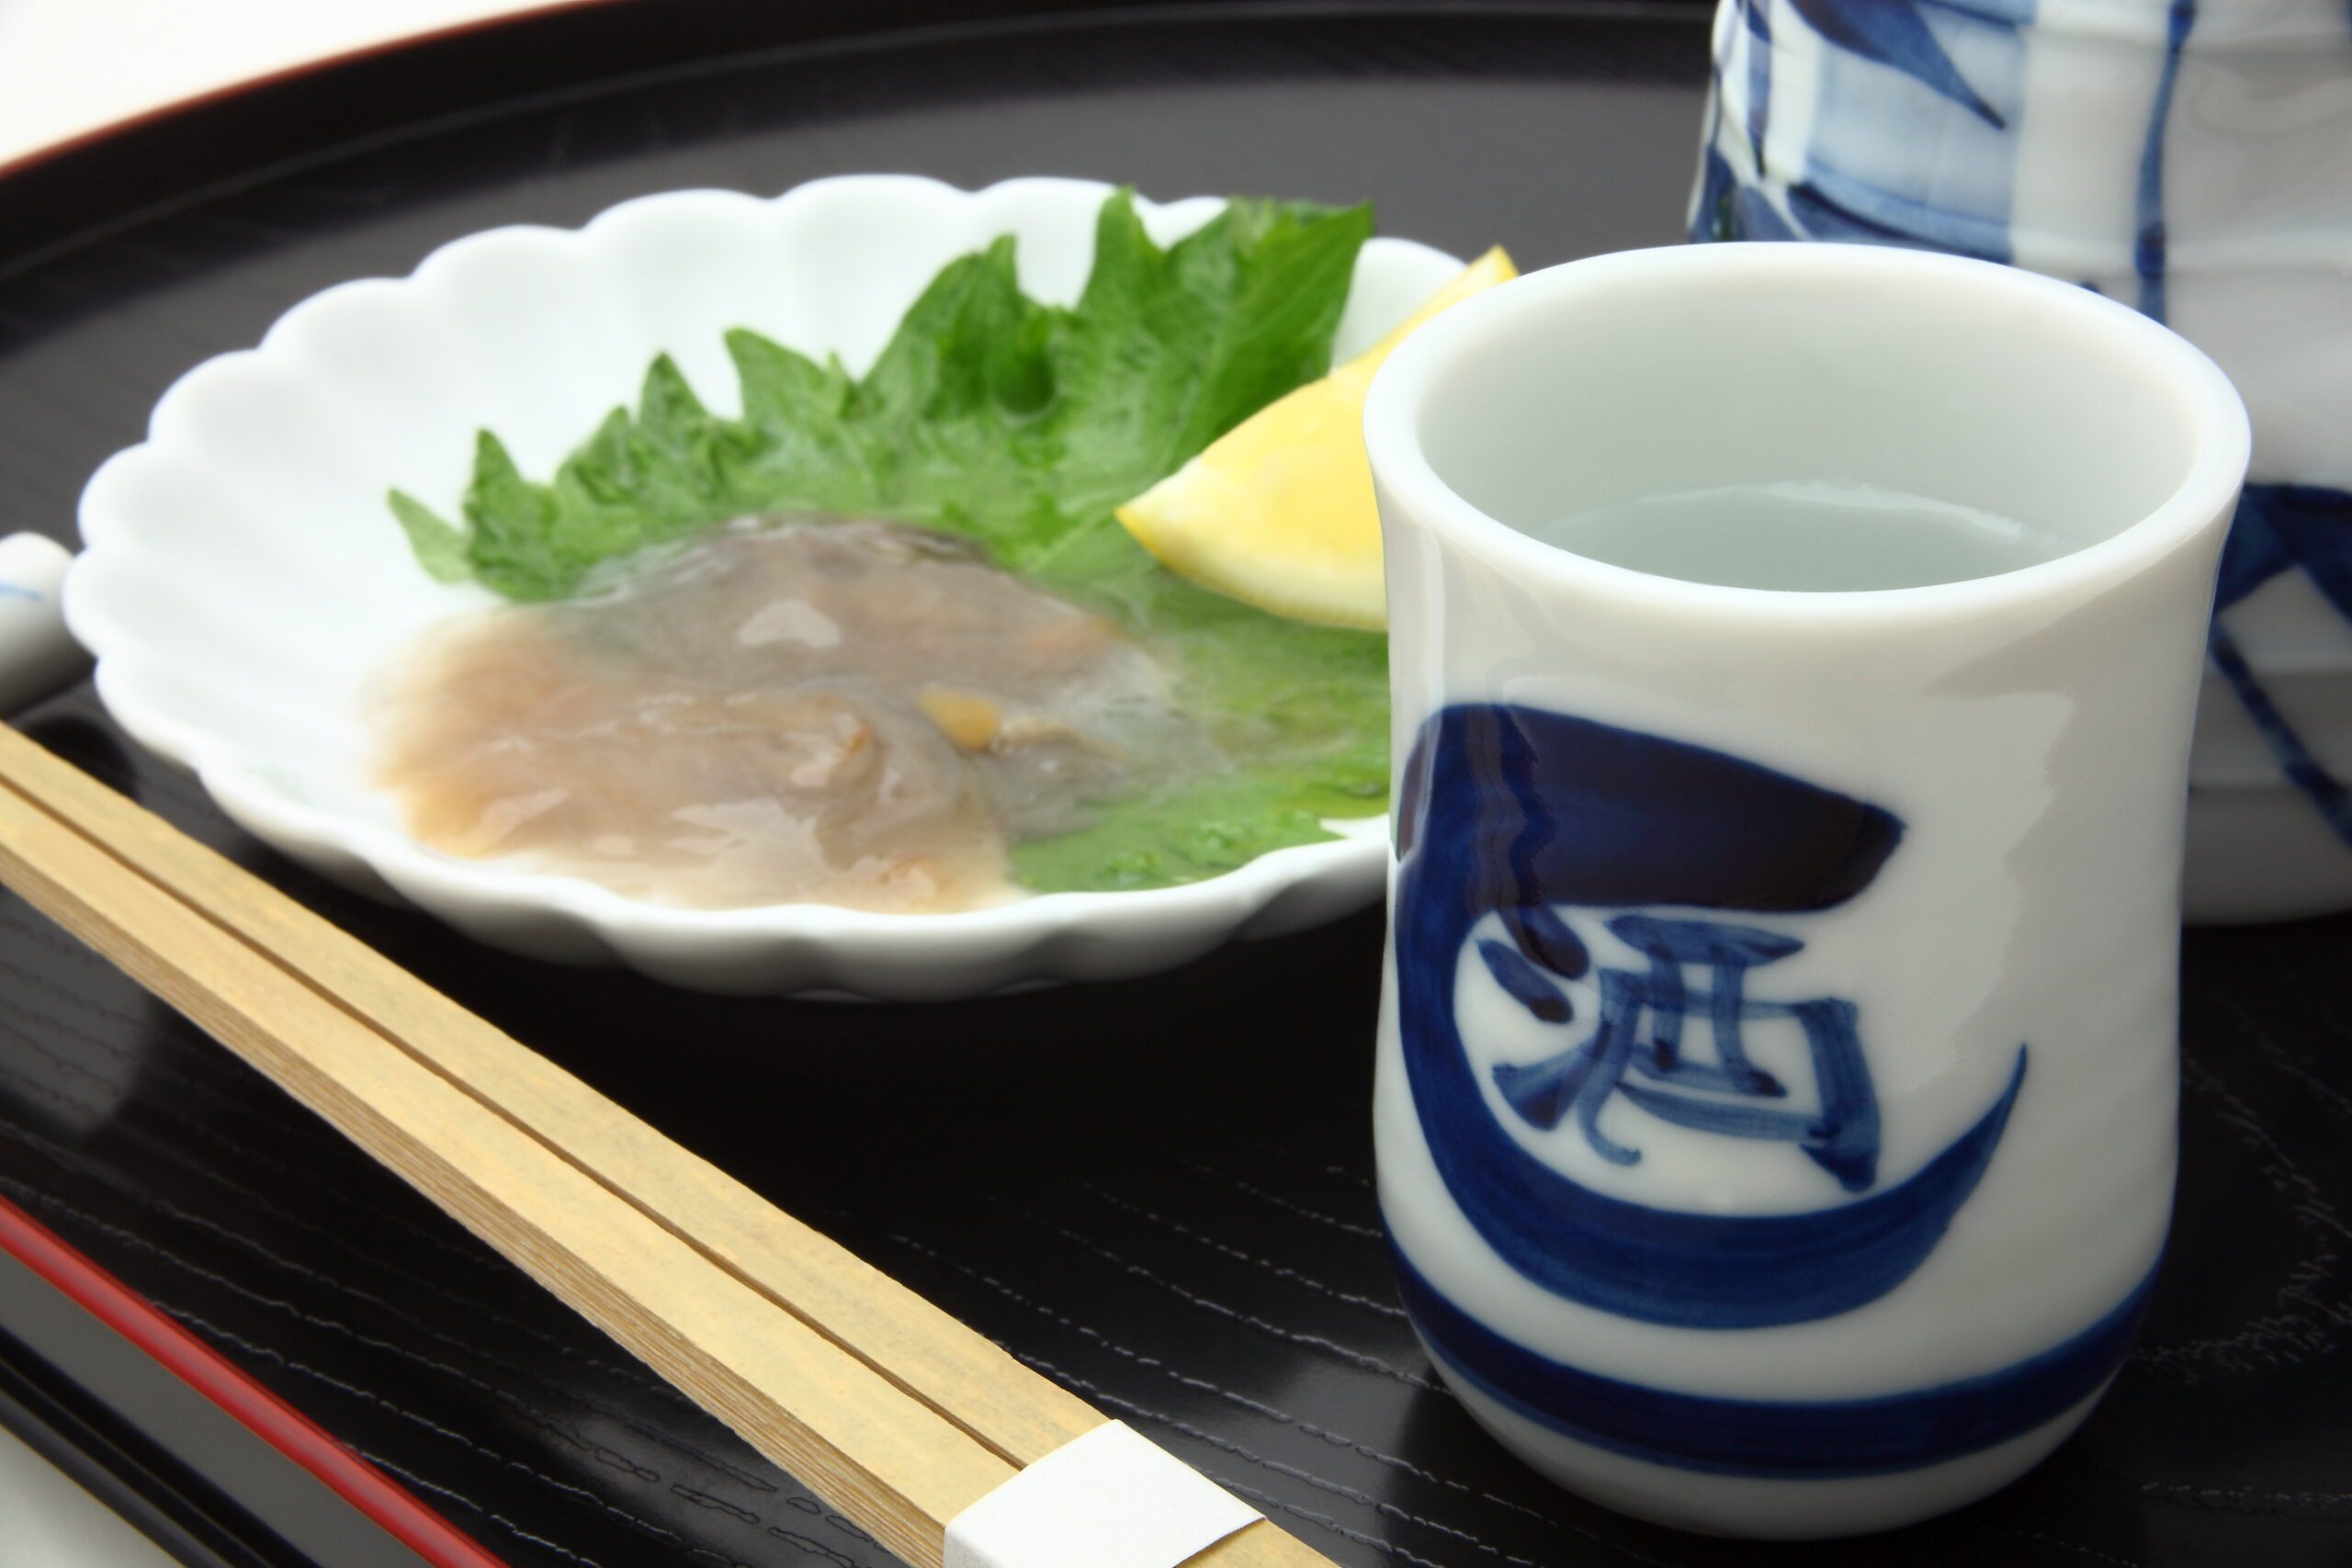
"Simmered Octopus" Whose Sweet-Savory Seasoning Keeps the Chopsticks Moving
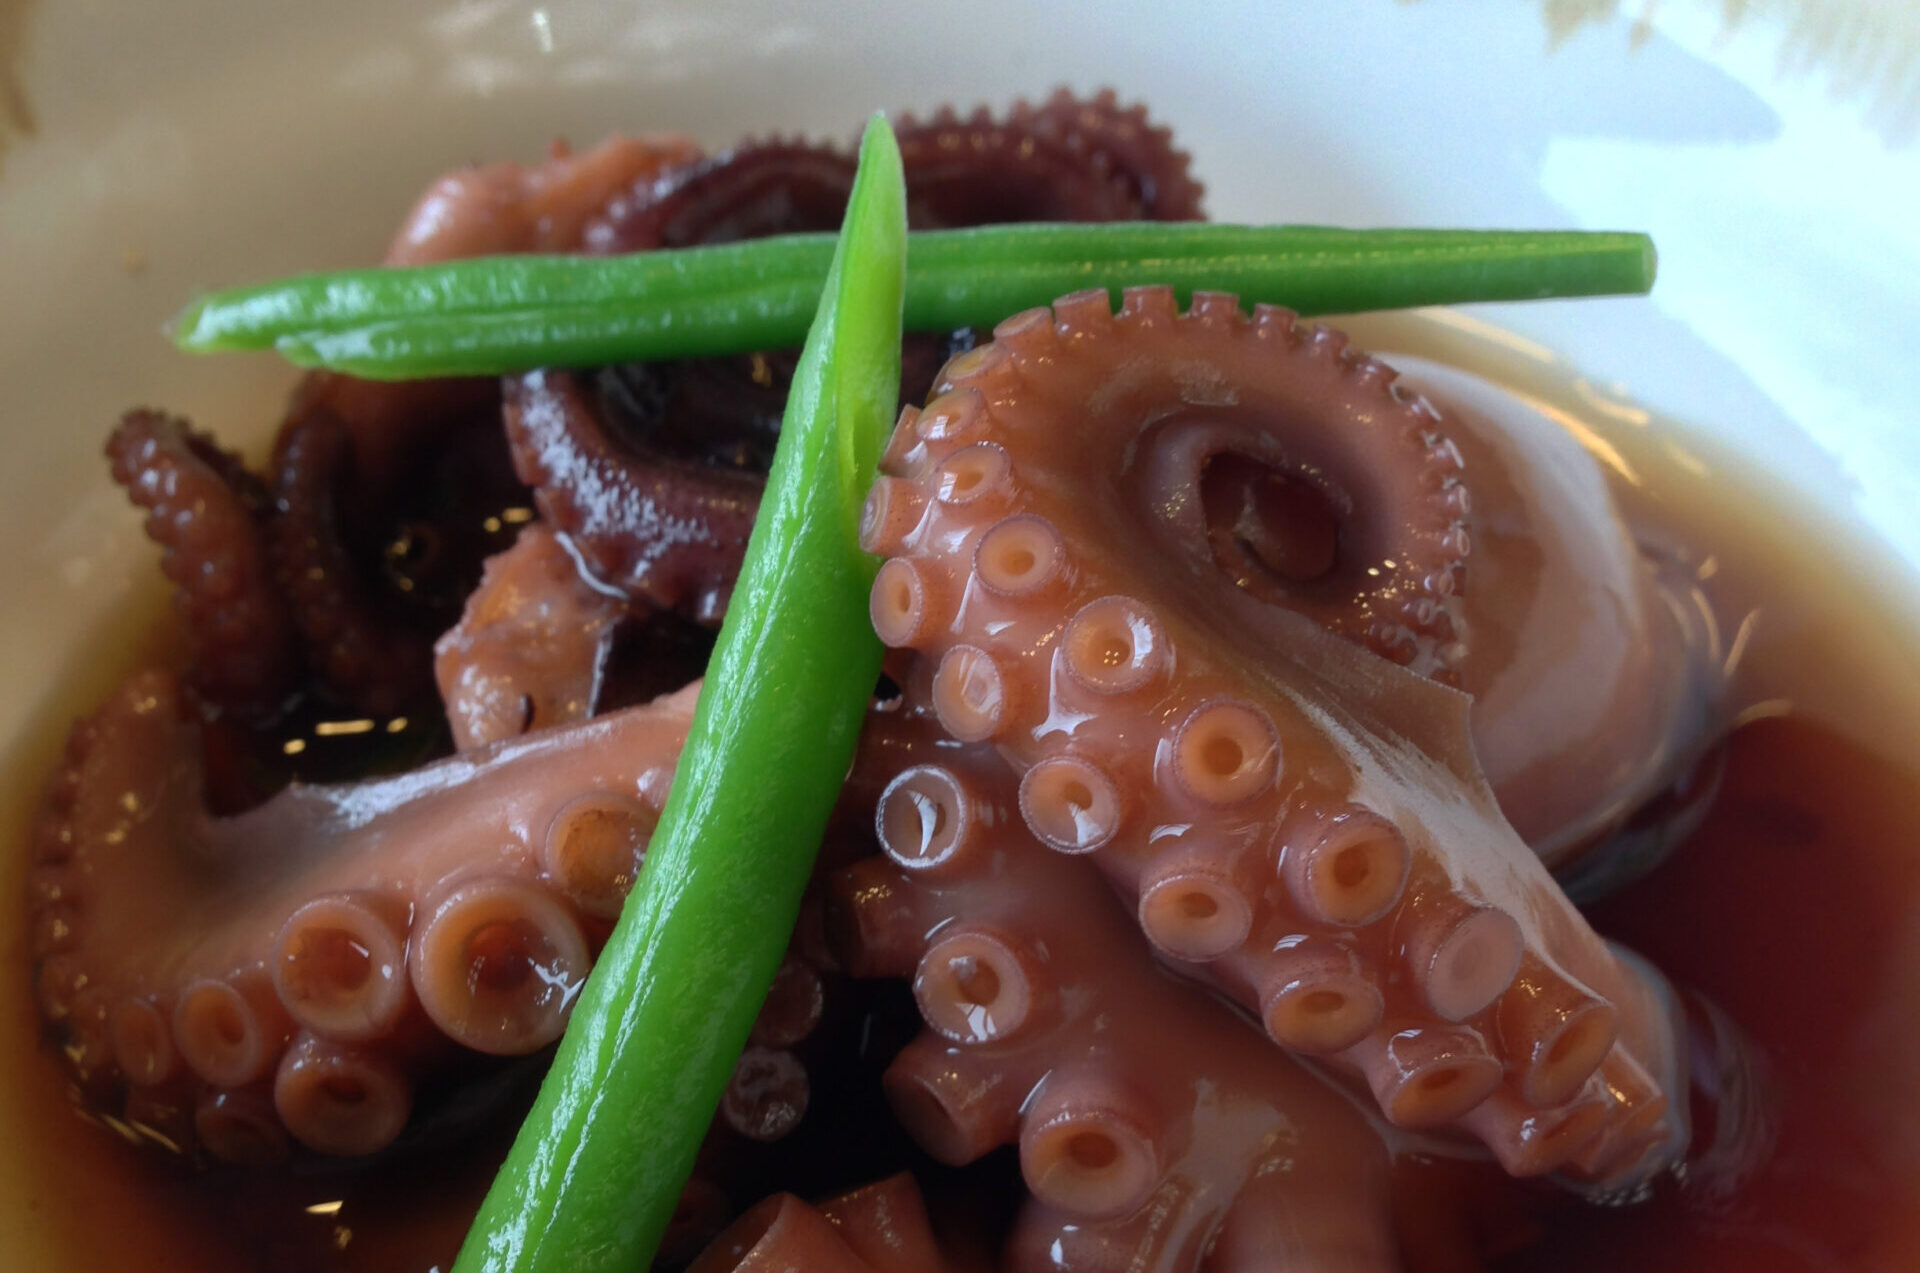
Simmered octopus is a classic sushi-restaurant appetizer. Octopus is a sushi topping prized for its springy bite, but when enjoyed simmered you can savor a different texture. When simmering it, using one surprising ingredient gives it a tender finish.
Ingredients for Simmered Octopus
- 1 egg
- 300g octopus (boiled octopus)
- Vegetables of your choice
- A: 500ml carbonated water (unsweetened)
- A: 3 tbsp shiro-dashi (mentsuyu is also OK)
- A: 1 and 1/2 tsp sugar
- A: a pinch of salt
How to Make Simmered Octopus
1. Cut the octopus into bite-sized pieces
Wash the octopus with water to remove the sliminess and cut it into bite-sized pieces. It shrinks a little when simmered, so cut it to a size that allows for that. You may also simply chop it into chunks for easy eating.
2. Put the broth ingredients in a pot and bring to a boil
Put all the A ingredients in a pot, stir lightly, and bring to a boil over medium heat. Using carbonated water breaks down the protein in the octopus's muscle fibers, allowing it to simmer tender.
3. Add the octopus and vegetables and heat
Add the octopus and vegetables of your choice to the pot from step 2, place a drop-lid made of kitchen paper, and lower the heat to low. At this point, if there isn't enough liquid for the octopus to be fully submerged in the broth, add water.
4. Simmer slowly for about 1 hour
Simmer over low heat for about 1 hour just like that. If the liquid reduces along the way, add water each time and keep the octopus submerged in the broth.
5. Check the firmness and it's done
Pierce the octopus with a bamboo skewer; if it goes through smoothly, it's done. If it still feels firm, simmer it a little longer.
In Japanese cuisine, simmered octopus is called "sakura-ni," because the simmered appearance resembles cherry-blossom petals. Its vivid coloring brightens up the usual dinner table. The leftover broth has the octopus's umami dissolved into it, so making tako-meshi (octopus rice) with it is a great idea, too.
"Kelp-Cured Sea Bream" for a Refreshing Taste
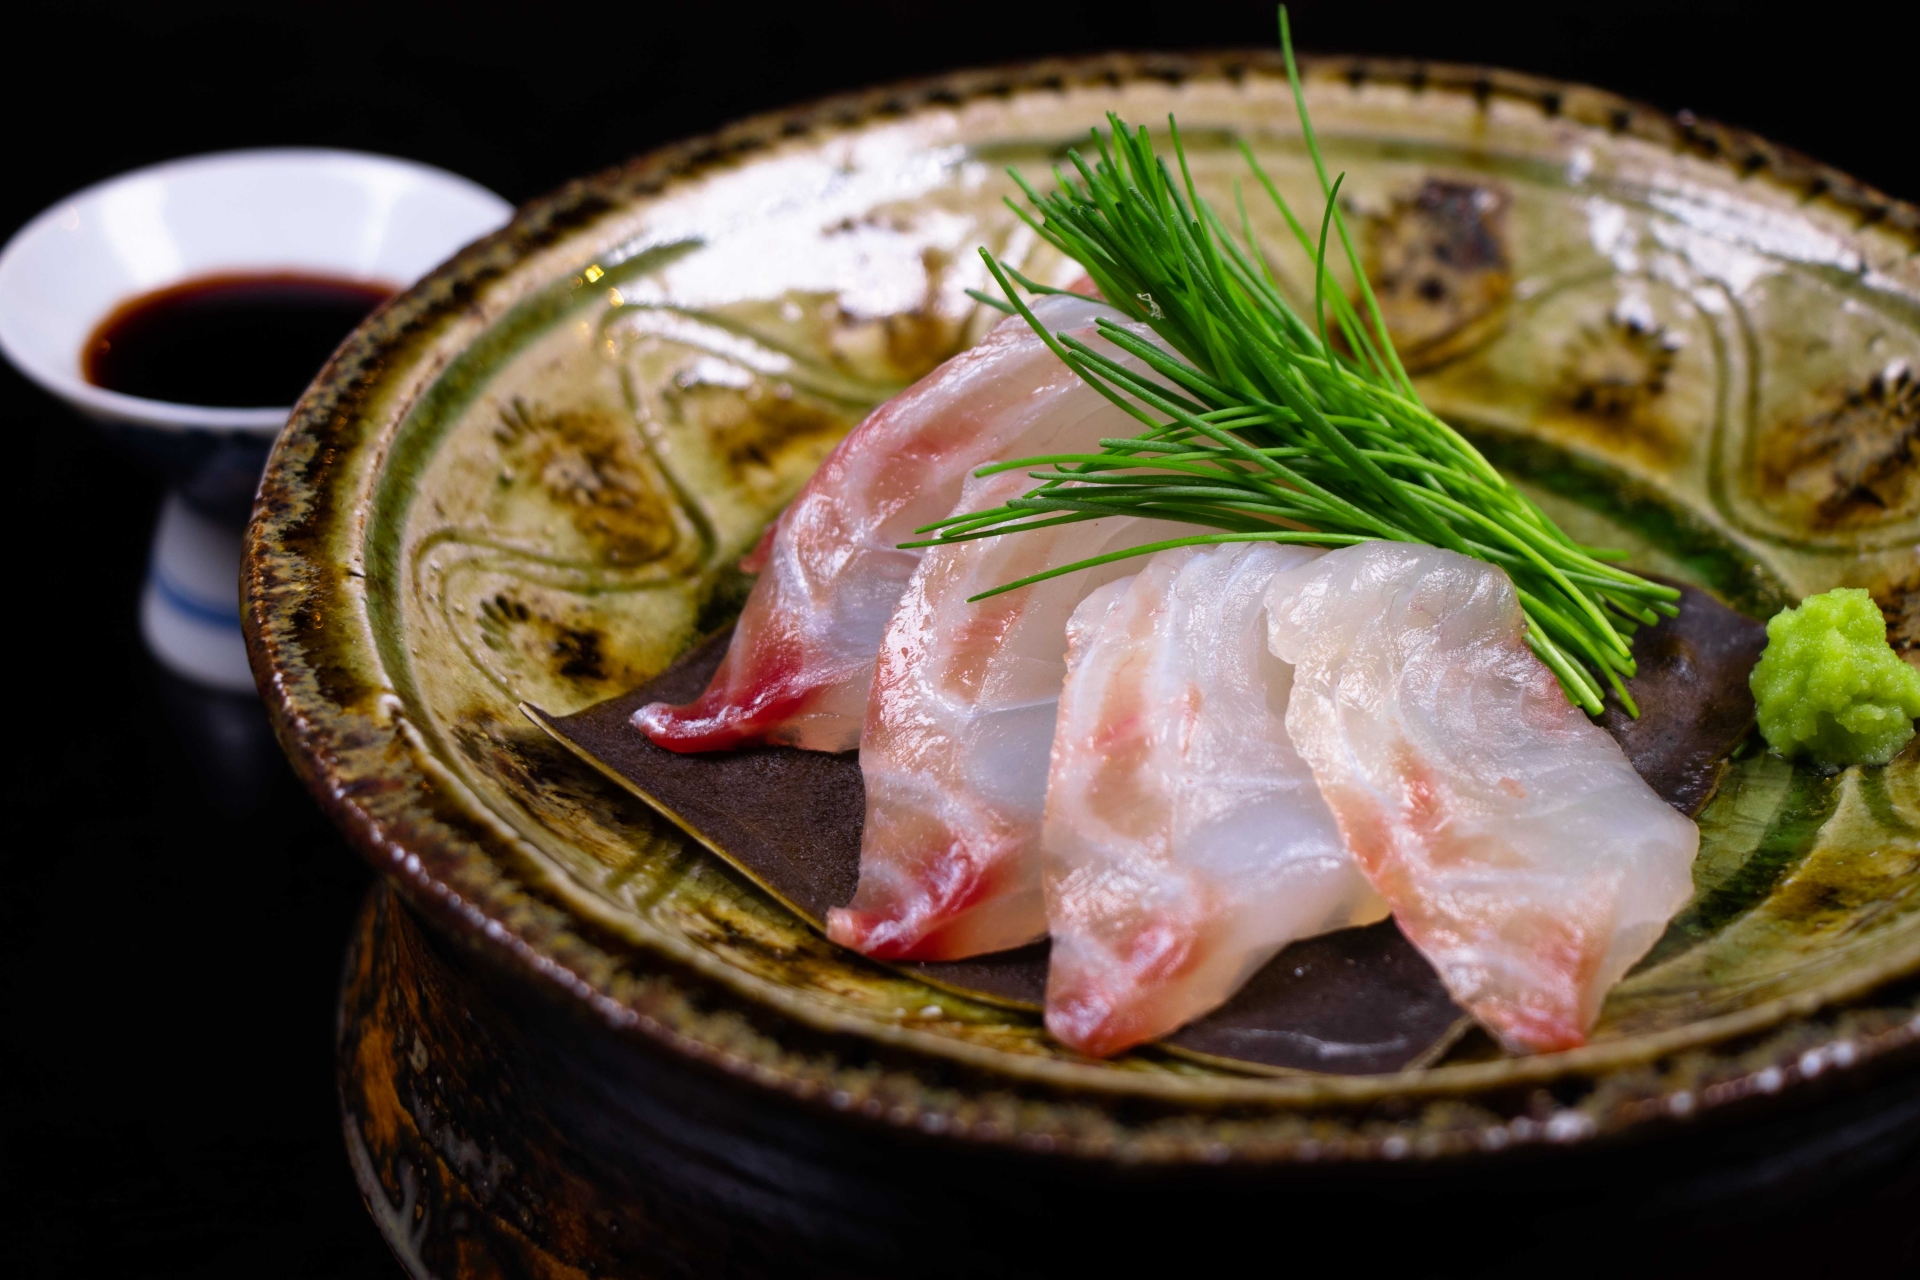
Kelp-curing (kobujime) is one of the traditional techniques of Edomae sushi. Some sushi restaurants serve kelp-cured sea bream as sashimi as well as sushi, of course. Simply kelp-curing an ordinary fillet tightens the flesh and increases the umami, making a one-of-a-kind appetizer.
Besides sea bream, flounder is also recommended. Fish with a light flavor pair well with the aroma of kelp and turn out delicious.
Ingredients for Kelp-Cured Sea Bream
- 150g sea bream sashimi (a block/saku is also OK)
- a pinch of salt
- 2 sheets of kelp (about 10cm × 15cm)
- a little cooking sake
How to Make Kelp-Cured Sea Bream
1. Salt the sea bream
Sprinkle salt on the sea bream sashimi and let it sit for about 10 minutes; when moisture comes out, wipe it off with kitchen paper. If using a block, slice it into pieces about 5mm thick.
2. Moisten the kelp with cooking sake
Soak kitchen paper with cooking sake and moisten the surface of the kelp. Doing so draws out the umami of the kelp and suppresses the fishy smell.
3. Sandwich the sea bream between the kelp
Place one sheet of the kelp from step 2 on a tray or plate, and arrange the sea bream from step 1 on top, one piece at a time without overlapping. Once arranged, sandwich it with another sheet of kelp.
Wrap in plastic wrap and weight it
Wrap the kelp and sea bream from step 3 tightly in plastic wrap, and place a tray or plate on top as a weight. Weighting it transfers the kelp's umami to the fish more quickly.
4. Put it in the refrigerator to rest
Put step 4 in the refrigerator and let it rest—about 3 to 4 hours if using sashimi, and overnight as a guide if using a block. Leaving it too long worsens the color and texture of the fish, so take it out at the right time.
5. Remove the kelp and plate it
After taking it out of the refrigerator, remove the kelp and arrange the sea bream on a plate. It is plenty delicious as is, but enjoy it with salt, soy sauce, or wasabi to taste.
Kelp-cured sea bream loses just the right amount of moisture, gaining elasticity, with the kelp's umami soaked in. Sea bream is an auspicious fish indispensable to celebrations, so it would surely be appreciated as a little dish of hospitality, too.
"Hoya Vinegared Dish" Packed with the Flavor and Umami of the Sea
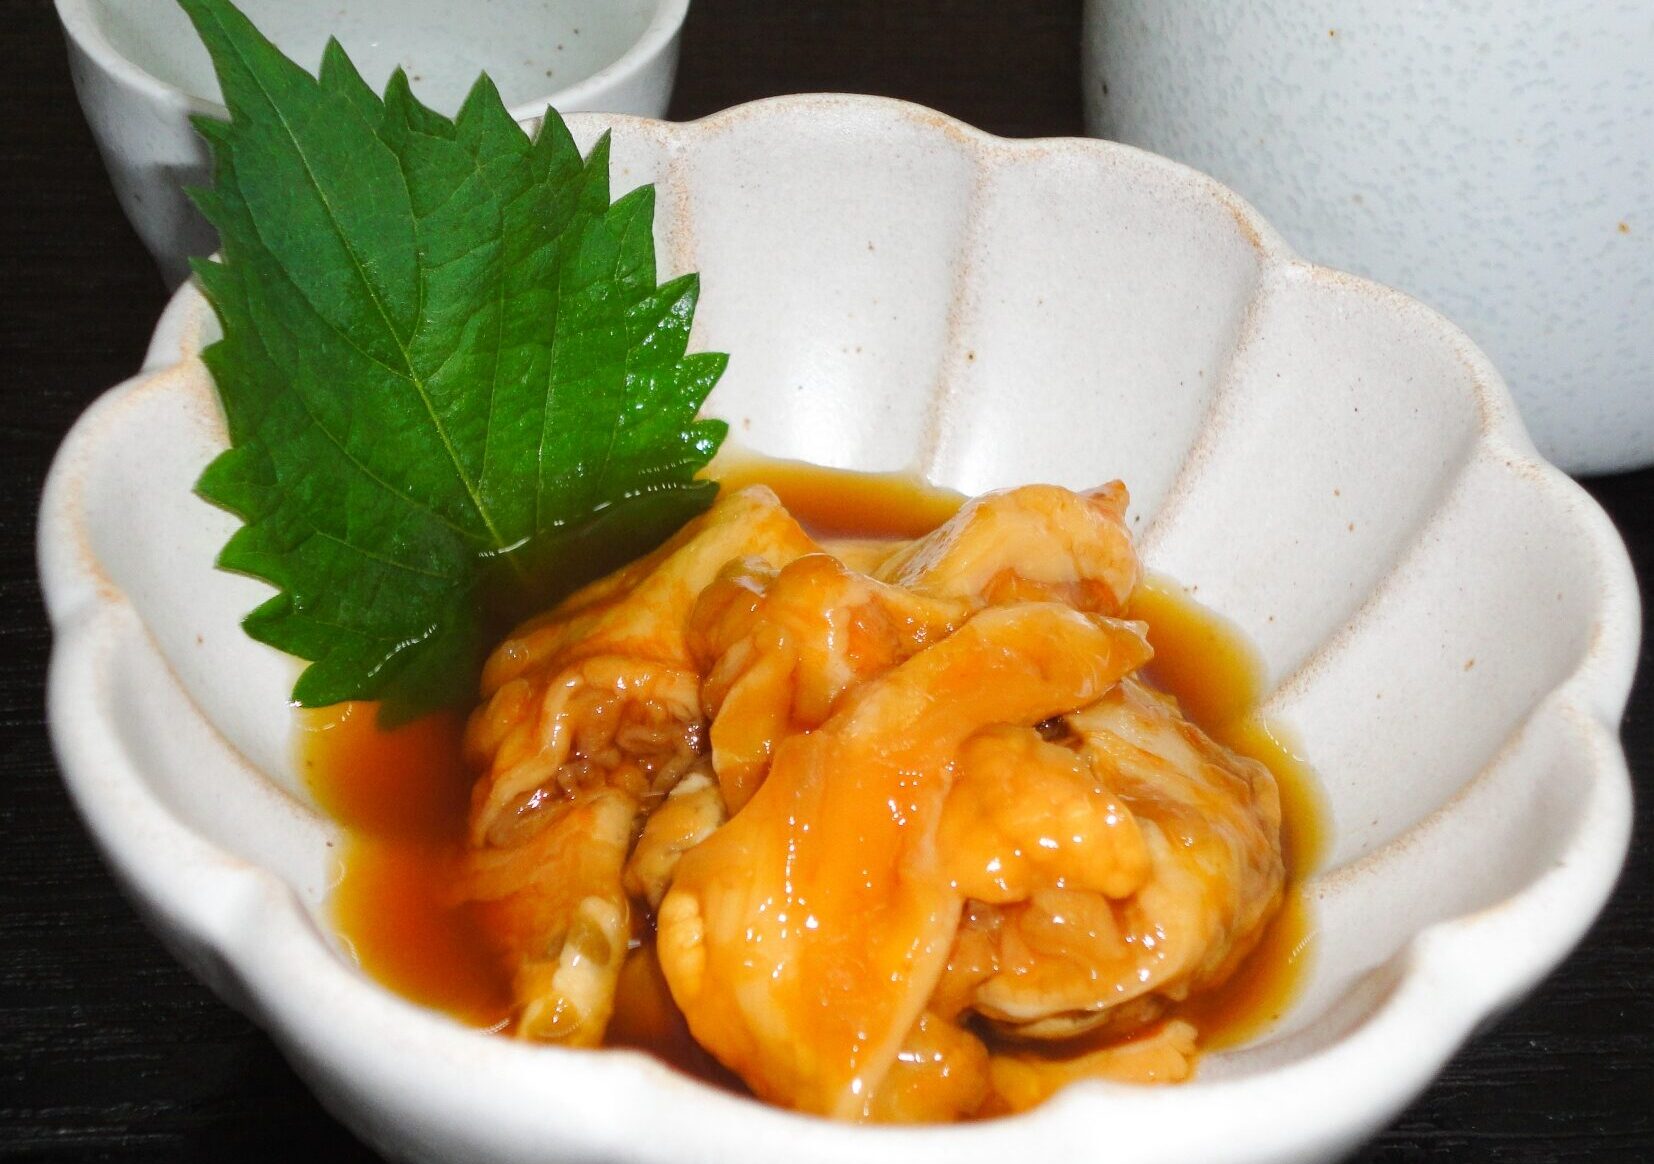
Every sushi restaurant takes pains in making its shari (sushi rice), and the key to the shari is the sushi vinegar. Quite a few sushi restaurants make the most of their own uniquely blended sushi vinegar by serving vinegared dishes (sunomono) as à la carte items.
Octopus is the standard for vinegared dishes, but using hoya (sea pineapple), also called the pineapple of the sea, is recommended too.
Ingredients for Hoya Vinegared Dish
- 2 hoya
- water for washing, as needed
- A: 1 tbsp vinegar
- A: 1/2 tbsp sugar
- A: 1 tsp soy sauce
How to Make Hoya Vinegared Dish
1. Remove the flesh of the hoya
Put the hoya in a bowl of water and wash them to remove dirt, then wipe off the water with kitchen paper.
After that, cut off the protrusions with a knife, make a cut from the cut-off spot toward the base, and remove the flesh.
2. Remove the innards from the flesh, then cut it
Make a cut in the removed hoya flesh and remove the innards with a knife.
Again put it in a bowl of water to wash, wipe off the water with kitchen paper, and then cut it into widths of about 5mm.
3. Toss the seasoned vinegar with the ingredients
Mix together the A seasonings, add the prepared hoya, and toss lightly. Chill it in the refrigerator before eating.
Adding a little cucumber or myoga to taste is delicious, too.
"Tuna Seafood Yukke" Whose Spicy Sauce Whets the Appetite
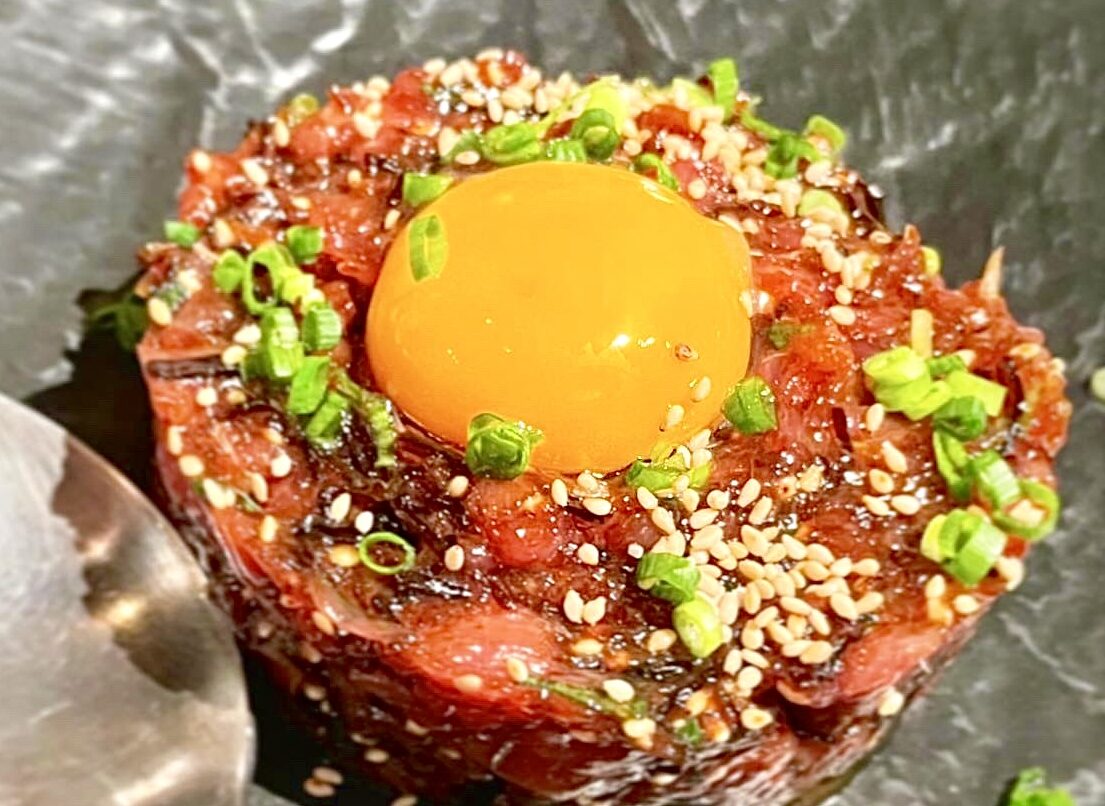
Tuna, which could be called the quintessential sushi topping, is a fish that lends itself to many variations. Besides sushi and sashimi, why not sometimes savor it by changing the cooking method or seasoning? For seafood yukke, in which tuna is tossed in a spicy sauce, the key is to coat it with egg yolk as you eat.
Ingredients for Tuna Seafood Yukke
- 150g tuna (in block/saku form)
- A: 1 tbsp soy sauce
- A: 1 tsp sesame oil
- A: 1 tsp cooking sake
- A: 1 tsp sugar
- A: 1 tsp gochujang
- 1 egg yolk
- a little chopped green onion
- a little white sesame
How to Make Tuna Seafood Yukke
1. Cut the tuna block
Cut the tuna block into strips 5mm wide.
If you want to make it more substantial, cutting it into 1cm cubes is also recommended.
2. Mix the seasonings together
Put all the A ingredients in a bowl and mix well to make the sauce. You may adjust the flavor to taste, such as adding grated garlic or honey. To make it even more simply, you may substitute yakiniku sauce.
3. Add the tuna and toss
Add the tuna from step 1 to the sauce from step 2 and mix together. Since the tuna releases moisture, the trick is to mix it quickly. After that, chilling it in the refrigerator for about 30 minutes lets the flavor blend in more and makes it tastier.
4. Plate it and top with condiments
Take step 3 out of the refrigerator and arrange it on a plate. Make a hollow in the center, place the egg yolk on it, and top with finely chopped green onion and white sesame to finish.
Because gochujang is used in the sauce, it has a deeply spicy, Korean-style seasoning. It may be especially appreciated by those who like spicy food. With its rich seasoning, the drinks are sure to keep flowing.
With Delicious Appetizers, Drinking Time at Home Becomes Even More Fulfilling
When you're drinking at home and feel like eating something, it's lovely to have an à la carte dish like those on a sushi restaurant's menu.
Using the recipes introduced here as a reference, do try making sushi-restaurant-style appetizers. You'll be able to enjoy your drinks with a special feeling.